It’s that time of year when boaters and fishing enthusiasts around the country are prepping their vessel for the season. Now is the perfect time to replace your old, worn out Rub Rail – something most people can do from the comfort of their own driveway or boatyard while the boat is pulled out of the water.
If you’re never replaced rub rail before, you may be wondering where to begin. In this blog, we’ll explore the basic steps for how to remove old rub rail on a boat to prep your vessel for new rub rail. If you have any questions about the process of removing your boat rub rail, comment on this blog or contact our Technical Support experts today! We are always happy to answer your questions and provide assistance.
TOOLS YOU’LL NEED
- Safety glasses
- Caulking gun with marine-grade sealant
- Putty knife or scraper
- Variable speed, reversible drill with appropriate drill bits
- Screwdriver
- Cloth or rag
- Acetone
- Work gloves
STEPS FOR REMOVING OLD RUB RAIL
The first step to removing boat rub rail is to unscrew the end caps. All TACO Rub Rail Replacement Kits come with new end caps, so if you’re replacing your boat rub rail with one of our DIY kits, go ahead and throw the old end caps away.
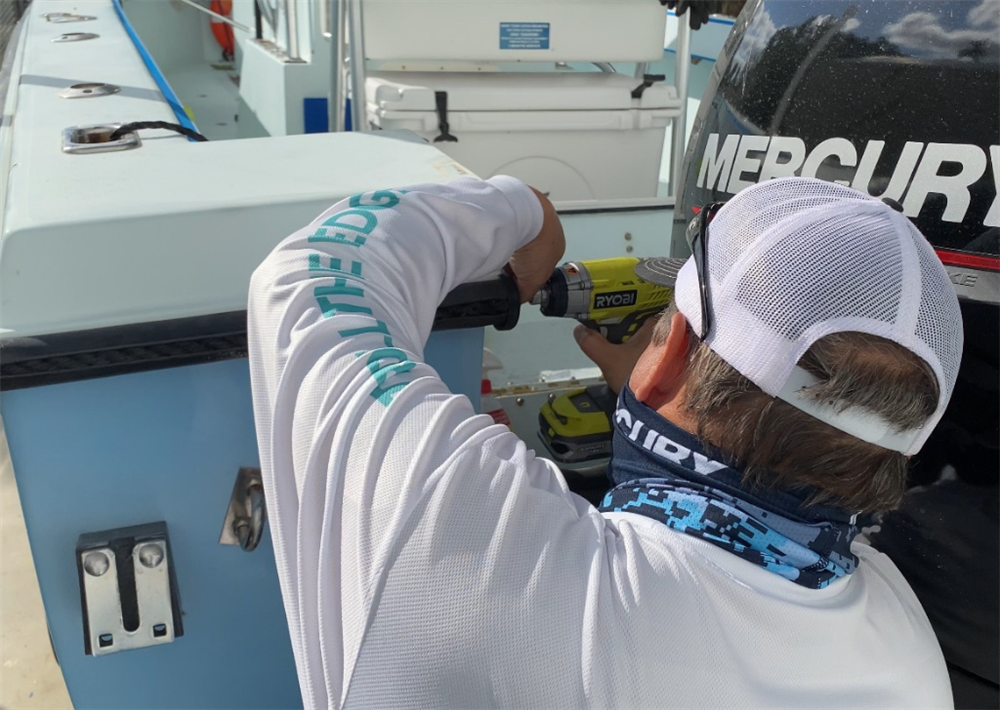 Removing the end cap.
If your old rub rail has an insert, the next step is to remove it. Using a screwdriver, pry the end of the insert, if it’s vinyl, out of the old rub rail at the transom where the end cap was. Once you get enough of the insert out, you should be able to grip it and pull it from the rub rail. Work your way around the boat removing the rub rail insert. If your old rub rail has a stiffening strip, remove that as well.
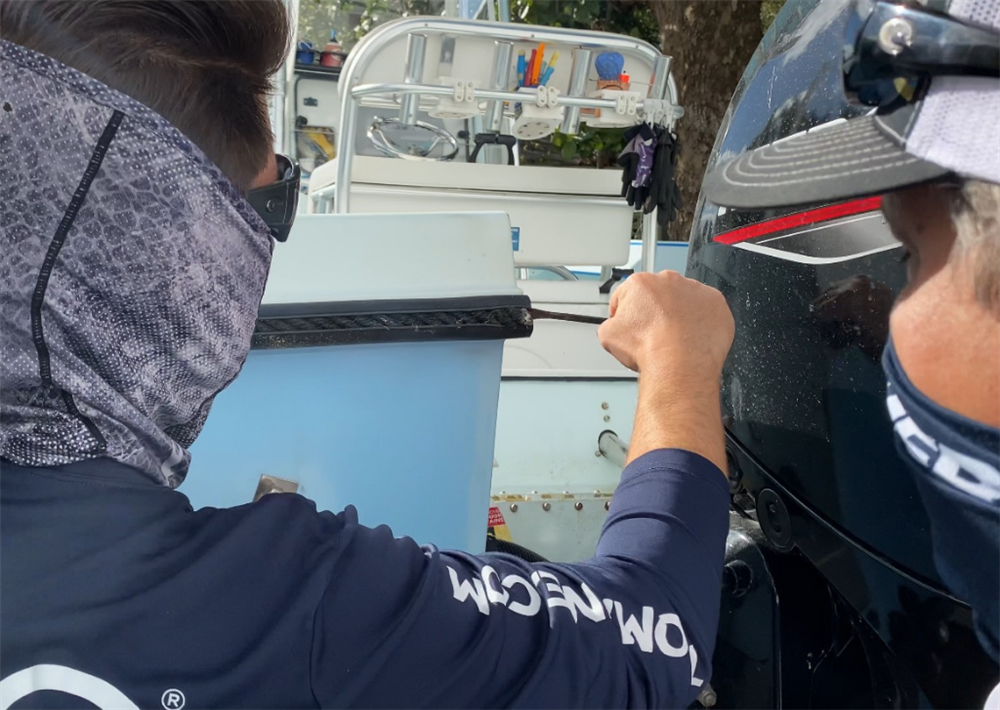 Remove the insert by using a screw driver to pry out the insert from the profile.
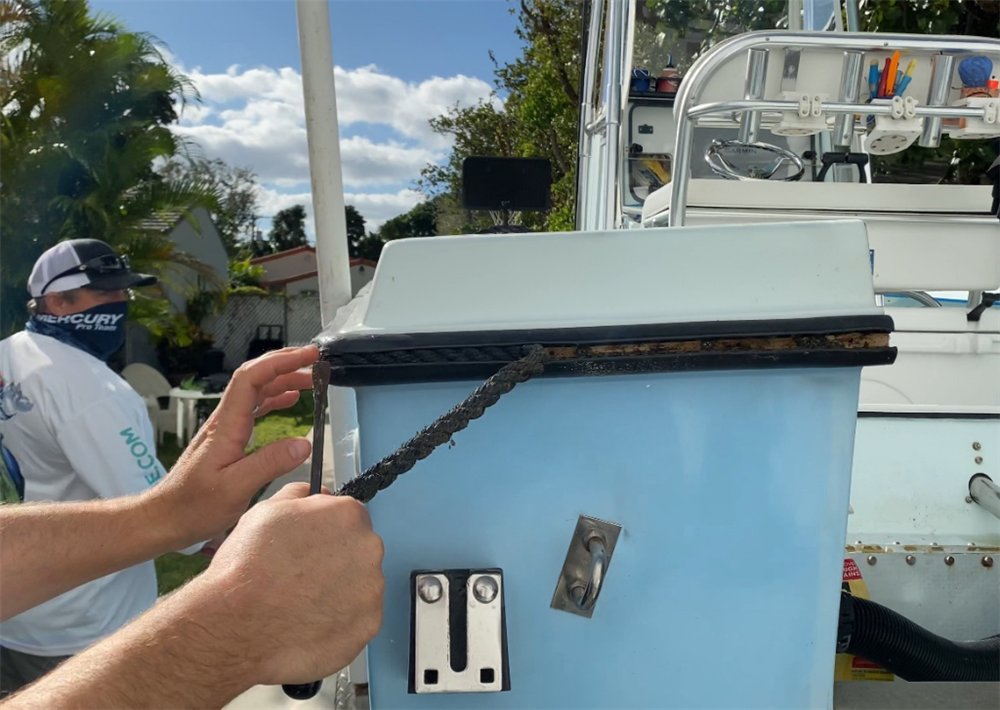
Pull the insert out of the rub rail, starting at the back and making your way forward.
Next, remove the screws or rivets that attach the rub rail to the hull. If the rub rail is fastened with pop rivets, drill out the rivet head and push the shaft in to prevent rattling. We recommend starting at the back of the boat and working your way forward.
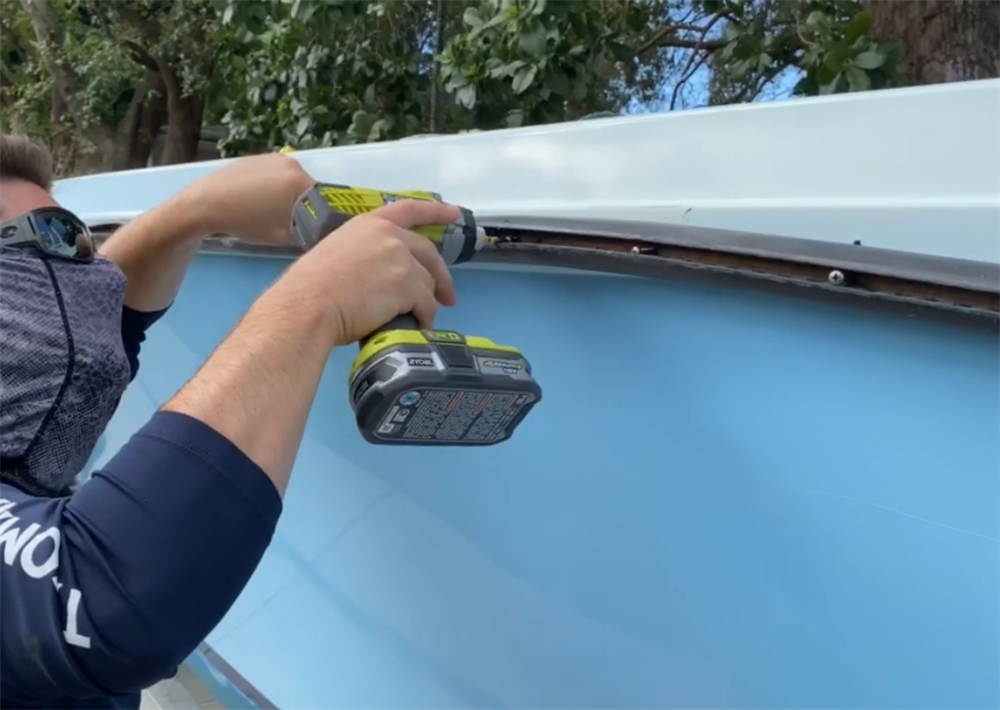 Unscrew the rub rail from the boat.
Once the old rub rail is removed, go around the cap and check for any screws or rivets that may have been pushed through the old rail, which happens sometimes. Remove those accordingly. Be sure not to remove the screws that secure the cap to the hull!
Before you install the new rub rail, we recommend using a putty knife to scrape off any old sealant. Be careful not to scratch the gelcoat. Additionally, it’s not necessary to remove all of the old sealant. Focus on removing the excess.
Depending on the age of your boat, it may be worthwhile to carefully tighten the screws that secure the cap to the hull. While this is certainly not required, many boat captains we’ve talked to have taken to checking the cap screws, which can loosen over time. Be sure not to strip the screws!
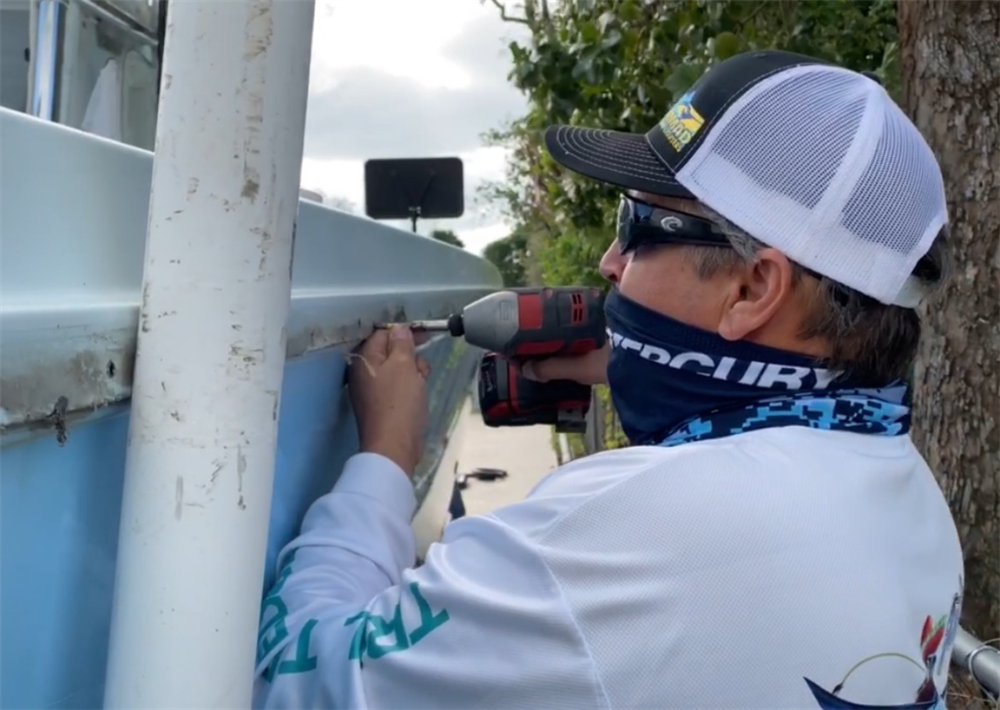 TACO Pro Team Captain Orlando Muniz from Nomad Fishing Charters demonstrates tightening the cap screws.
Now is also a great time to clean off any dirt and debris that may have accumulated underneath the old rub rail. Acetone is a good product to assist with this task. Simply apply acetone to a rag and wipe down the cap area accordingly. You may want to wear gloves for this step.
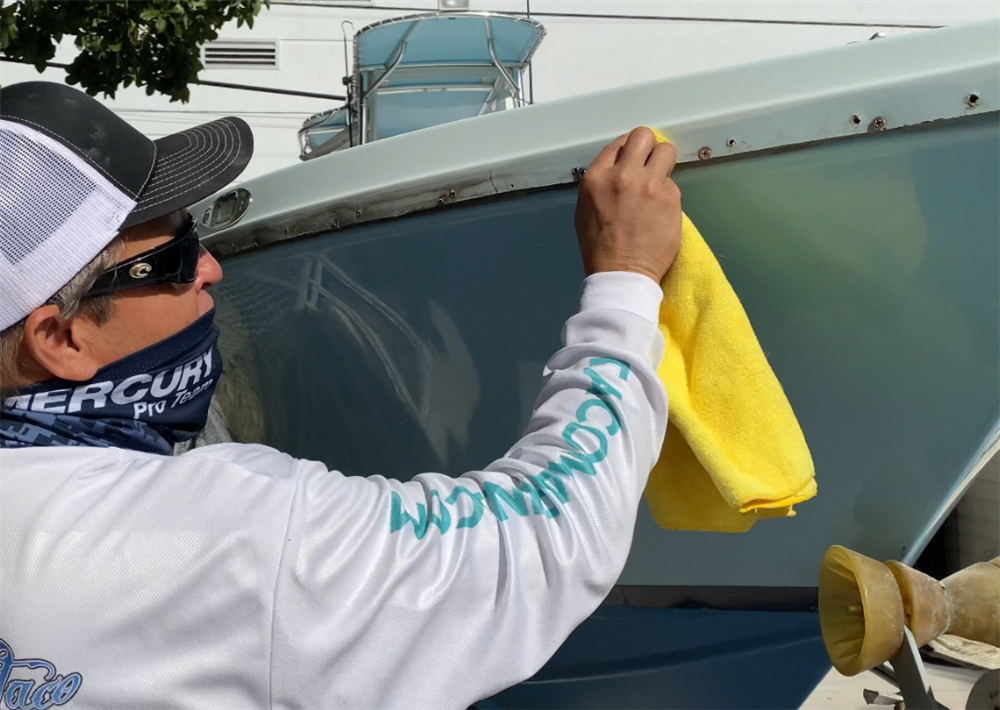 Remove any dirt and debris that accumulated under the old rub rail.
Next, fill all the old rub rail screw holes with marine-grade sealant. You will be drilling new holes for the new rub rail. Wipe off any excess sealant and let it cure according to the manufacturer’s suggestions.
You’re now ready to begin installing new boat rub rail. For step-by-step instructions on how to install new rub rail, check out the videos below. We also have instruction manuals here, and for additional rub rail product knowledge, click here. For any questions, comment on this blog or contact our Technical Support experts today.
Step-by-Step Instructions for Installing SuproFlex Rub Rail
Installing New Rub Rail with Captain Mark Henderson
Como Instalar el Cinton SuproFlex de TACO Marine
Stay up to date on all things TACO Marine by subscribing to our newsletter below and following us on YouTube, Instagram, Facebook and Twitter.