Captain Mark Henderson from the Liquid Fire Fishing Team stopped by the Florida Sport Fishing boat to show how to install the TACO Outrigger Line Tensioner.
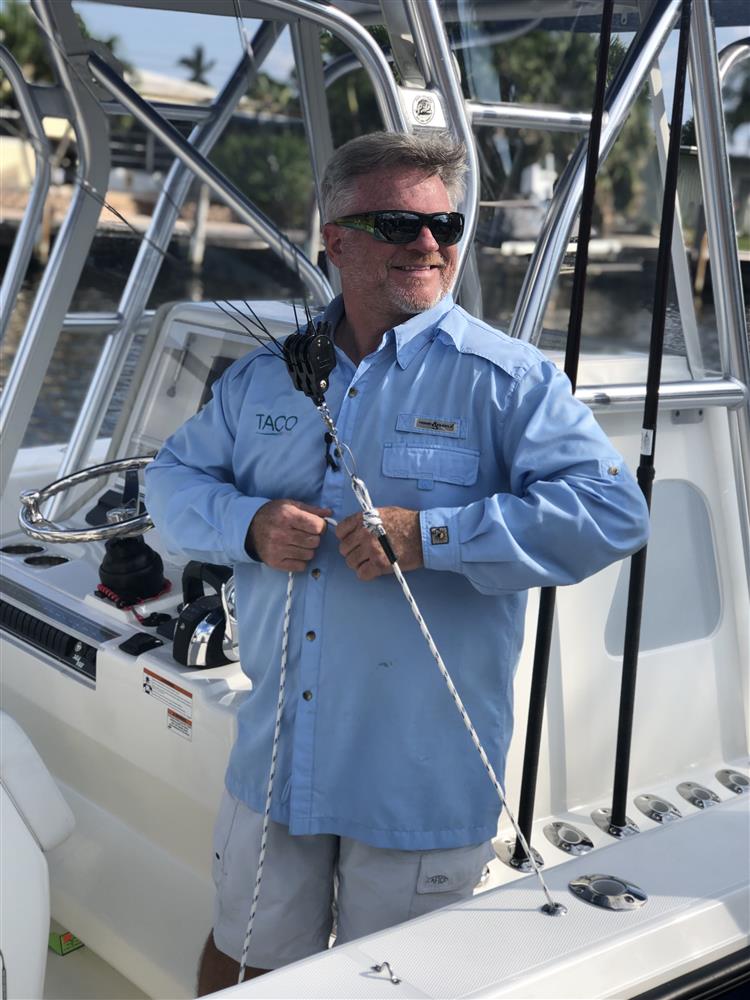 Captain Mark onboard the Florida Sport Fishing Seavee 390Z in Pompano Beach, Florida after installing the TACO Outrigger Line Tensioner.
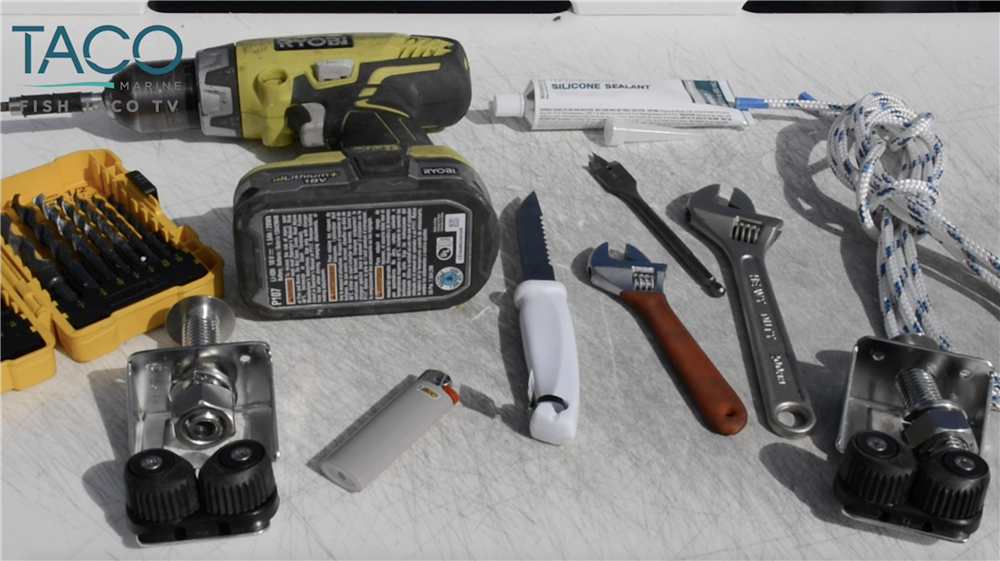
To install the Outrigger Line Tensioner, you'll need just a few basic tools, including a cordless drill, standard drill bits, marine-grade sealant, a hole saw or spade bit and two crescent wrenches. Additionally, using a rag and WD-40 is great for cleaning excess sealant from the stainless-steel components of the Tensioner.
Once your tools are ready, select an area on the gunnel that parellels the position of the Outrigger Top Mount. Be sure to check underneath the gunnel to ensure no wiring or hardware is in the way. If any wiring or hardware is in the way, then adjust the Outrigger Line Tensioner position accordingly.
Next, use a pen to mark the Outrigger Line Tensioner position. Using a standard drill bit no larger than 1/8-inch, drill a small pilot hole through the top of the gunnel.
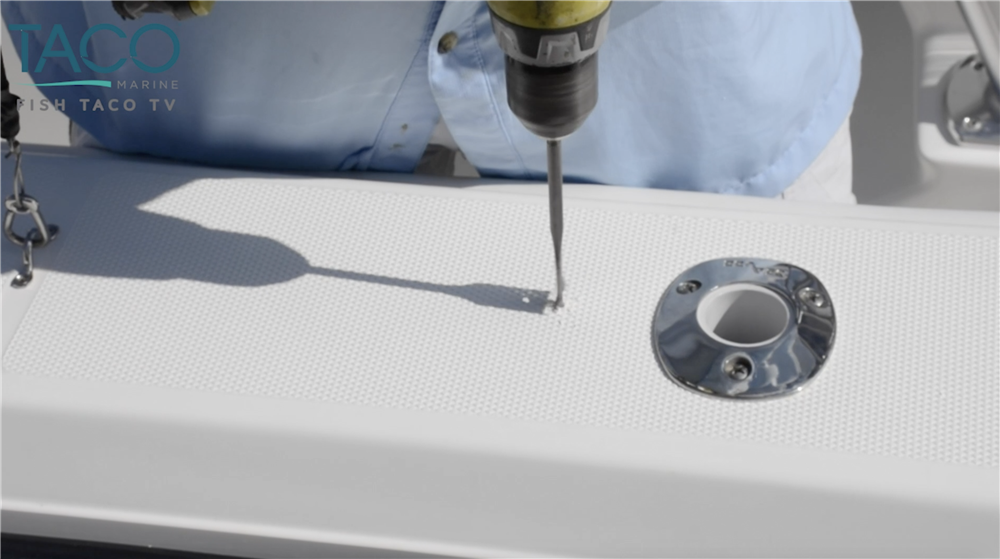
Once the pilot hole is complete, use a 3/4-inch spade bit or hole saw to make the hole larger.
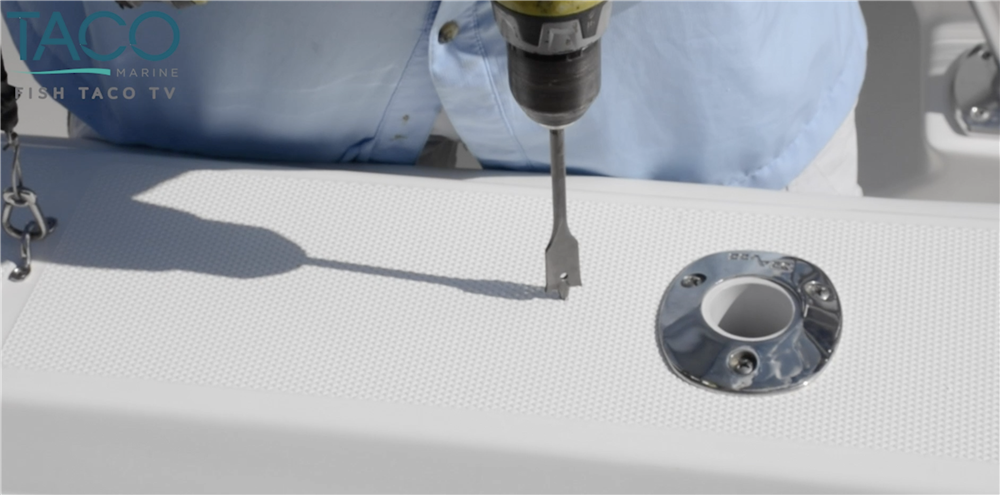
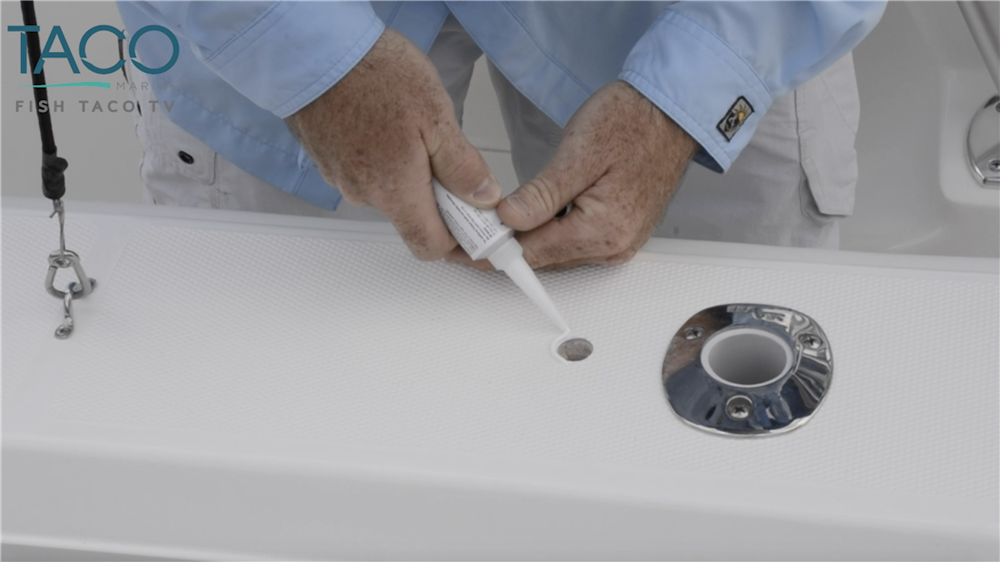
Remove any debris from the top of the gunnel and then place a clean bead of marine-grade sealant around the hole before inserting the top of the Outrigger Line Tensioner.
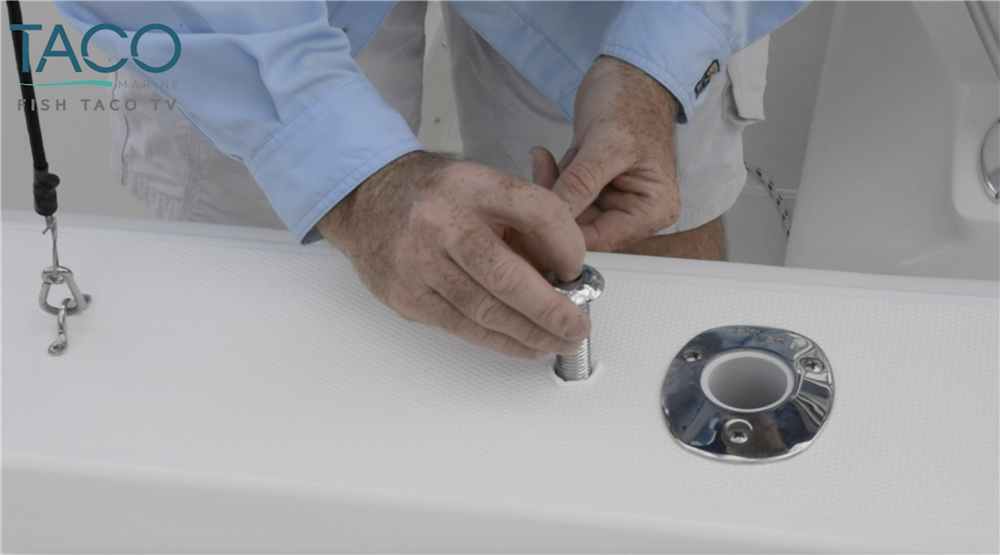
Once the bolt is through the hole, it is normal for some of the sealant to ooze around the edge of the top of the bolt. If needed, spray some WD-40 on a rag and wipe away any excess sealant.
Now moving underneath the gunnel to install the bottom half of the Outrigger Line Tensioner, first place a clean bead of marine-grade sealant around the top of the receiving hole that will be mounted to the underside of the gunnel.
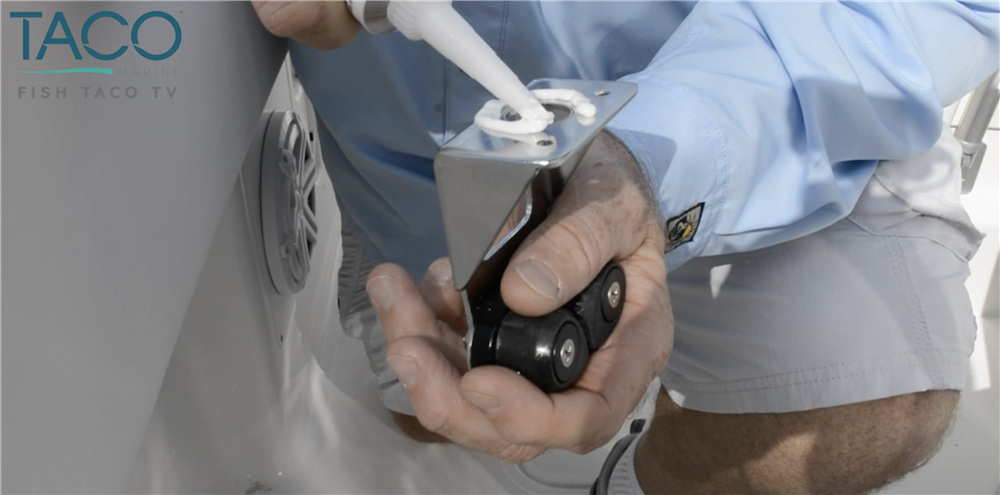
Then, simply slide the body of the Tensioner onto the bolt.
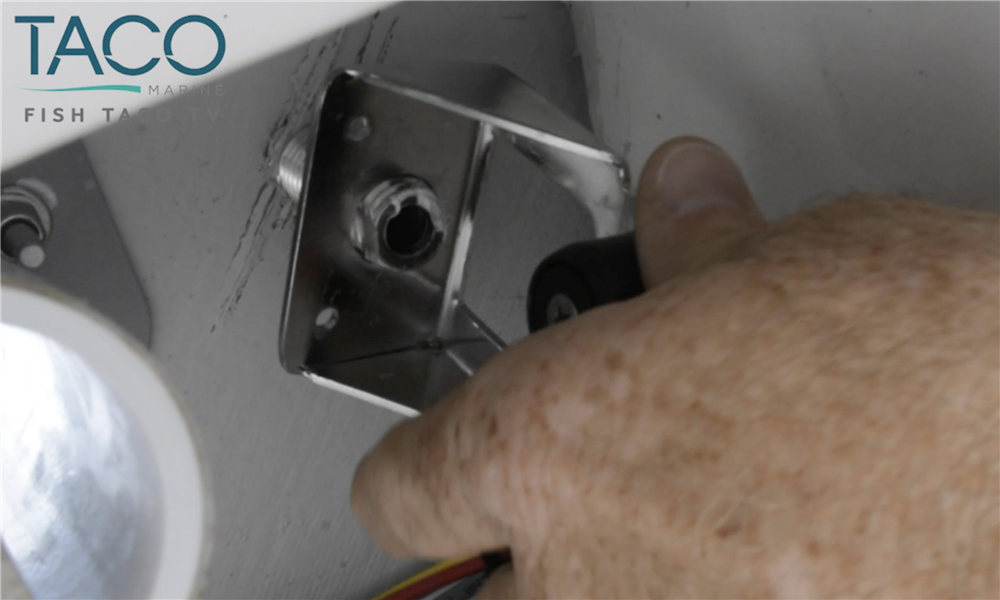
Before securing the Tensioner in place, adjust the angle of where the cam cleats face, which will depend on your gunnel and the position of your Outrigger system.
Next, slide on the stainless-steel lock washer and stainless-steel nut, which come included with the TACO Outrigger Line Tensioner. Using the crescent wrenches, tighten the nut in place.
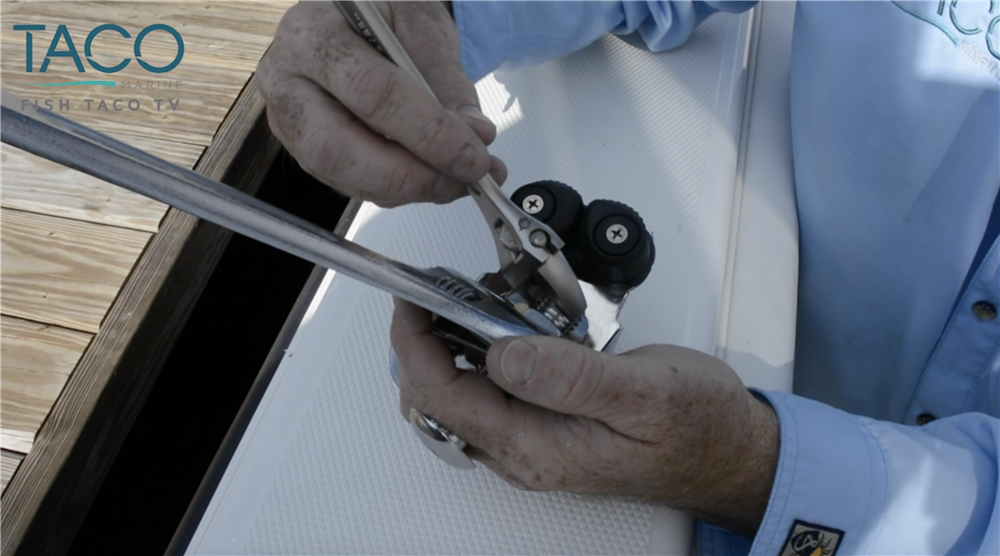 Mark demonstrates how to use the two crescent wrenches to tighten the Outrigger Line Tensioner.
Once installed, simply attach a line to your halyard pully, then thread the line through the top of the Outrigger Line Tensioner mushroom head, through the gunnel and secure in place with the cam cleats.
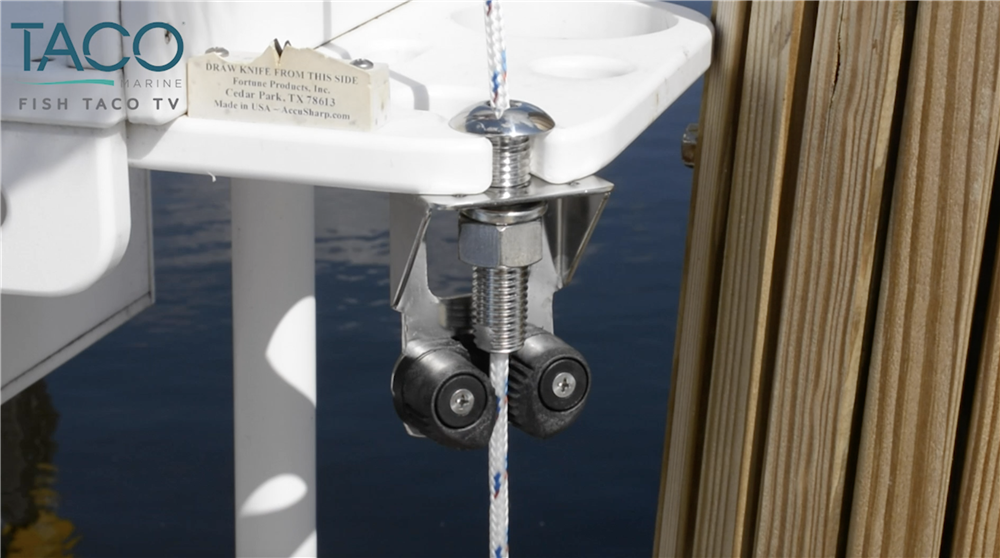 Captain Mark demonstrates how to use the Outrigger Line Tensioner.
For complete step-by-step instructions on how to install the TACO Outrigger Line Tensioner, watch the video below.
Discover more how-to videos on our YouTube channel youtube.com/tacomarine. For this and everything else TACO Marine, follow us on Facebook, Instagram, Twitter and YouTube.